
The first challenge for this kit was placing a "T" fitting on one of the high pressure side pipes of the boiler. Steam Traction World instructs that you have to rotate the already assembled pipe about 30 degrees to allow clearance to twist on the "T".


What they didn't tell you was which end of the "T" was supposed to be fitted. Well I naturally put it on the wrong end as I found out later and had to re-do it.


From this joint the regulator will be mounted, but first the regulator must be assembled. Below shows all of the parts and its assembly.


A plunger/lever is assembled at the end that will actuate the rod that will push the ball bearing to open the regulator allowing steam to flow.


Next a bracket is assembled on the regulator that will house a cable coming from the "steam pedal" (accelerator pedal) on the floor board. The cable was not sent in this kit.


The next step I did for Kit #21 was placing the ball valves for the water sight glass. I followed Steam Traction World's suggestions for orientating the handles.


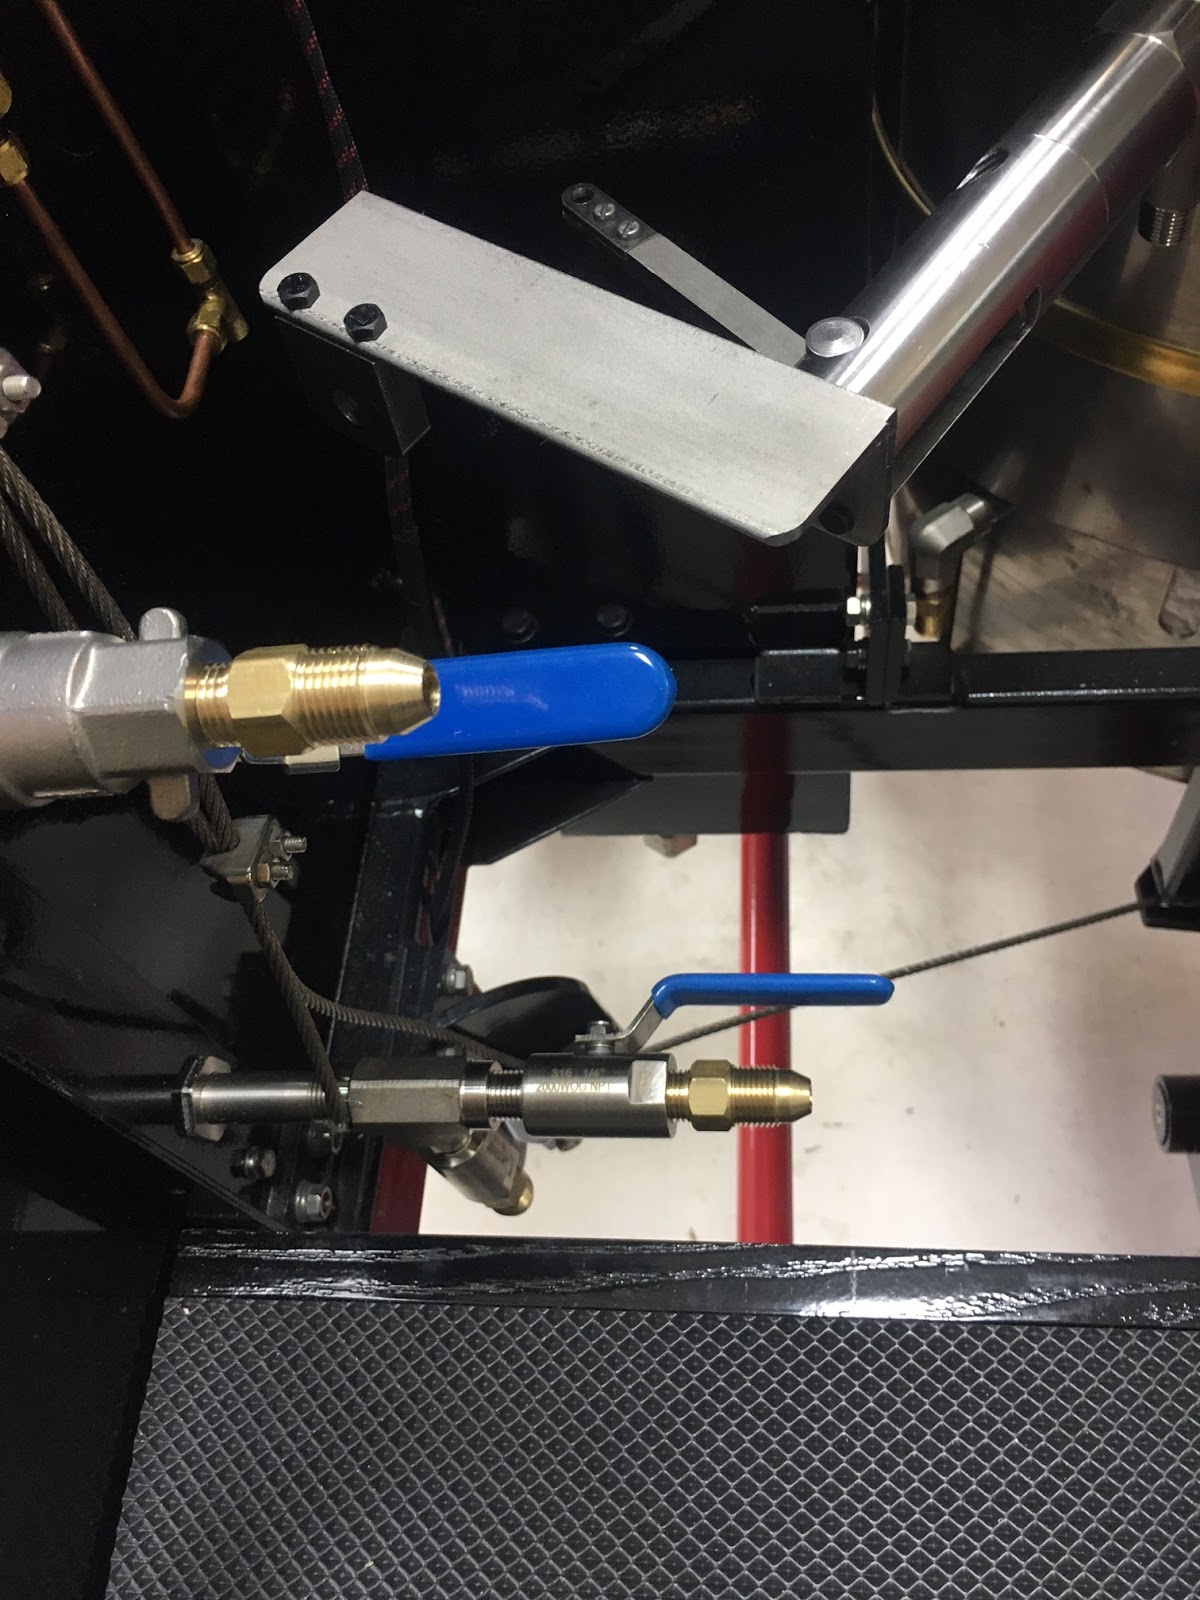

Now the copper piping can be assembled. The regulator needed a brass fitting.

And then the pipe from the sight glass gauge to the boiler and the pipe from the regulator to the manifold.


The copper manifold is placed on the steam engine and final assembly of the pipe from the regulator.


Now on to the task of assembling the Blowdown Valves. The purpose of these valves is to remove condensate from the engine when first steaming up. If there is too much condensate the engine will lock up because water is not compressible. This is only an issue for start-up as I have read. Here are all of the parts. There are three valves that need to be assembled.

The following images show the assembling of the components. Steam Traction World only gave me 500mm of graphite impregnated valve packing. I had to cut the string in 167mm pieces and stuff it in the valve. It just barely was enough to do the job. I guess I will be looking for a supply.


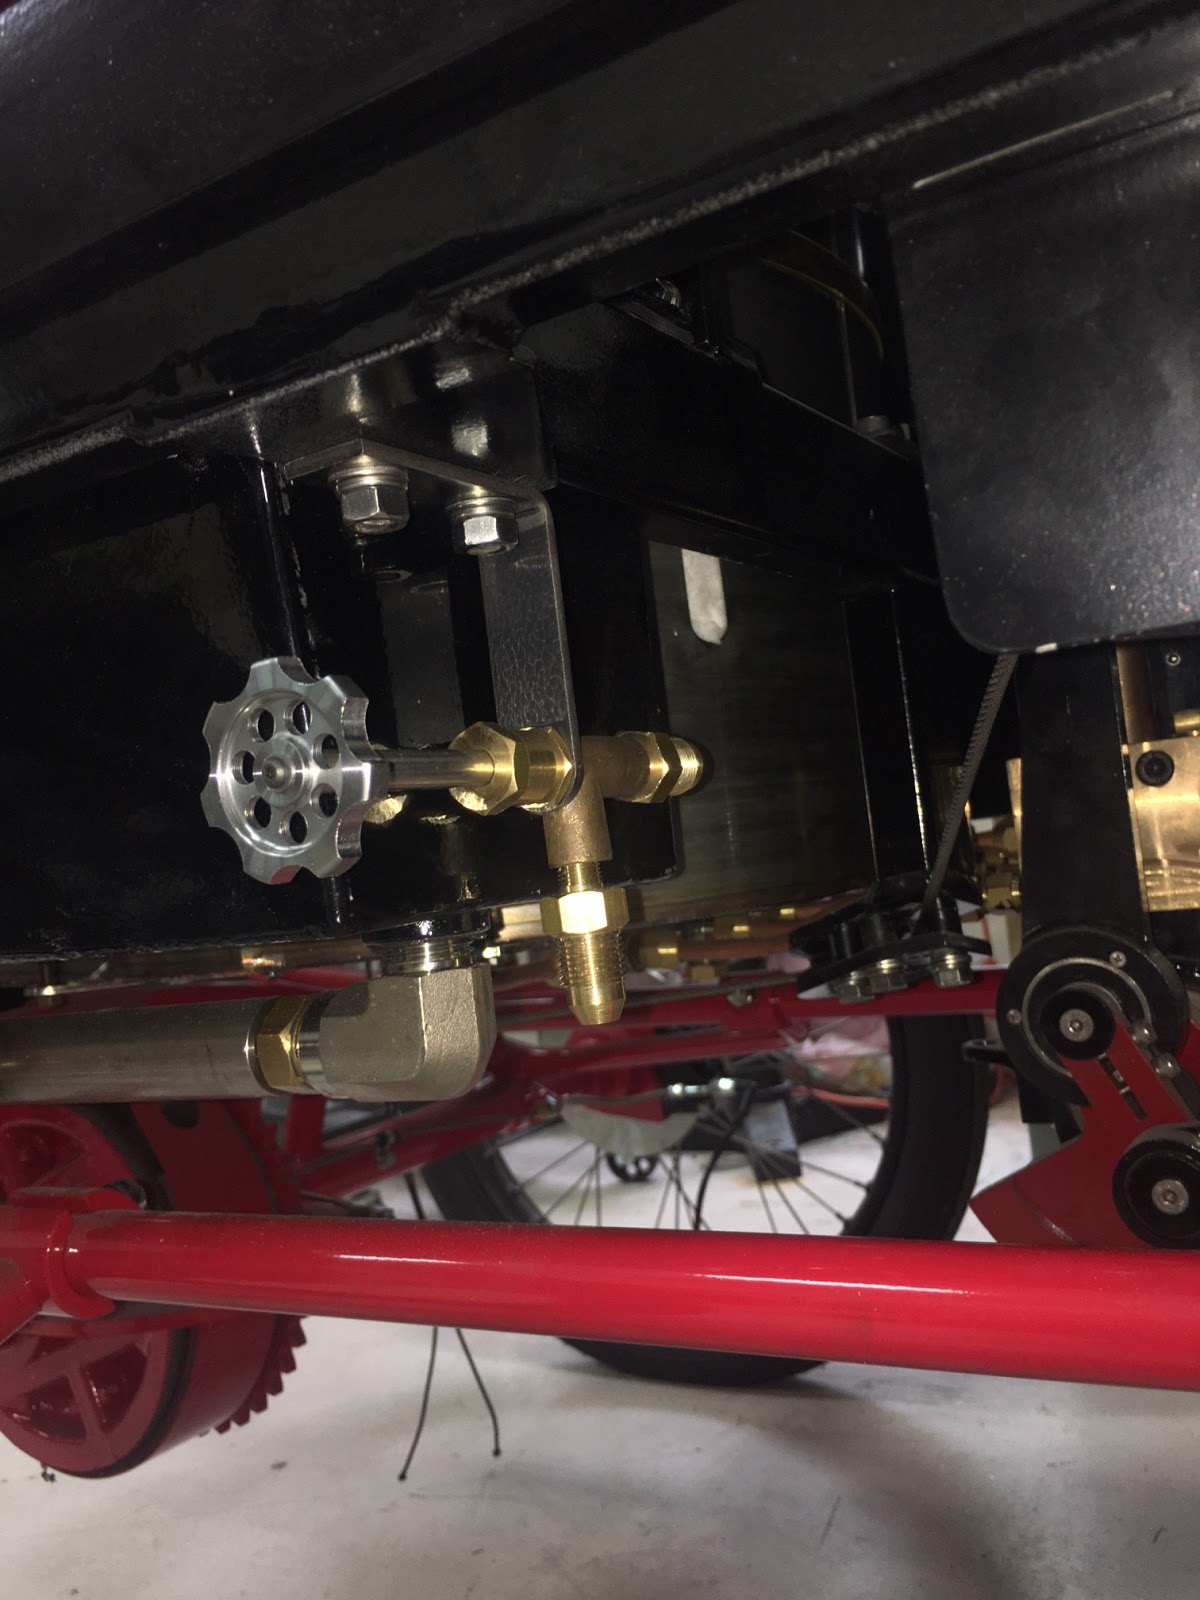
Steam Traction World's instructions tell you to assembled the brass jam nut as shown above, but after assembling everything you read in the last paragraph a suggestion to place the jam nut on the other side of the bracket. It makes a lot better sense to do this. Only wish they made the suggestion a little earlier in the instructions!!


This is the preferred location of the brass jam nut. It affords you the ability to tighten up the packing a little easier.


Two of the valves get mounted on the underside of the frame, one gets mounted to the back side of the floor board as depicted below.


All of the above assembling was done "dry". After being satisfied with the fitting I disassembled components that needed to be painted and applied "Steamseal" sealant to the fittings and tightened everything as final.
The final test fitting was the chain. I believe that the chain is a bit too loose, I believe Steam Traction World is going to provide a chain tensioner, but even then I probably think I will need to shorten the chain by a half link. Luckily I can acquire half links for the metric chain 12B. Below are my images for the chain.


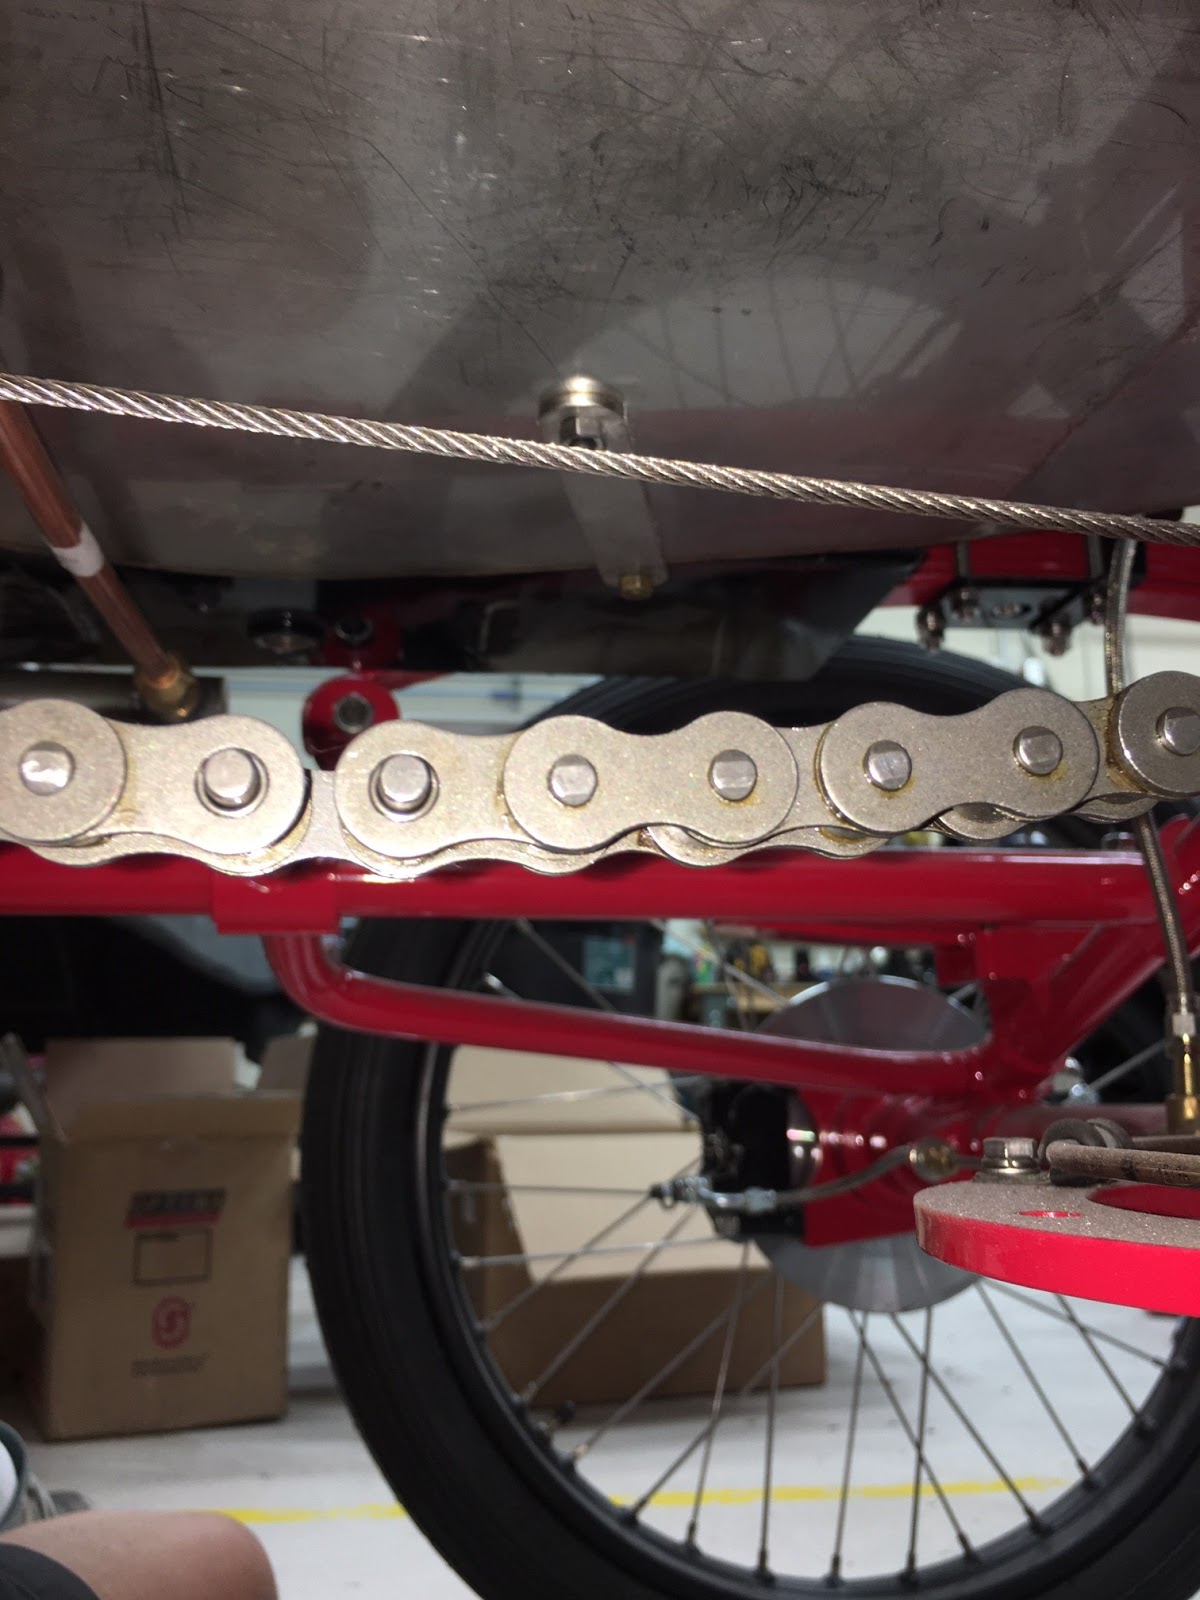

The chain will slap too much with this amount of looseness.


ONLY ONE MORE KIT!!


