The 1899 Locomobile Steam Car Replica, known as the Lykamobile is a full scale live steam automobile manufactured in 24 kits. This kit is available from a company called "Steam Traction World" located in Daventry, United Kingdom. Each kit is to be manufactured and sent once a month for 24 months. However for cost considerations I have chosen to have my kits batched and dispatched in larger crates to the United States (Topsail Beach, NC).

Specifications:
• Length 7ft 2.6in • Height 5ft 3in • Width 4ft 7.1in • Weight 904 lbs.• Water Tank Capacity 12 Gallons • Fuel Tank Capacity 7.3 Gallons

Construction:

CHASSIS Tubular steel fabrication, combination weld, bolted and silver solder.
STEERING “Ackerman” design tiller steering.
DIFFERENTIAL & DRIVE Spur gear differential similar to the original Locomobile, drive shaft and bearings.
WHEELS & TYRES Single tube pneumatic, treaded.
BREAKING SYSTEM Disc brake system.
ENGINE 21/4" diameter, 3" stroke modified “Hackworth” valve gear.
WATER FEED Twin mechanical pump.
BURNER Fuelled by diesel.
BOILER Multi Fire Tube, fully constructed and complete with necessary paperwork and inspected by notified body.
BODYWORK & SEATS Wooden with steel frame, seating capacity of 2 persons, with turned decorative spindles with leather style upholstery.
Gears: forward and reverse.
Assemble with hand-tools only
Step-by-step instructions
Technical service and help-line backup
Designed on ‘Solidworks’ CAD
Manufactured on modern CNC machines for build accuracy and high quality


Tuesday, December 29, 2020

Emergency Boiler/Burner Shut-off

I have figured out a way to make a low water emergency shut off sensor that utilizes purchased components. The issue I have is that you really can't see the boiler level sight glass when driving - even if you add a mirror. I guess in the 1900's you would develop a feel for when to turn off the bypass water system and pump water back into the boiler. I can't imagine that I will use the Lykamobile that much to get the experience to know when to do this at the right time to avoid cooking the boiler. This modification really is a "peace of mind" improvement so that I don't have to worry. The first issue was searching for a suitable circuit. I found a circuit that can be used to either fill a reservoir or drain a reservoir. I needed a circuit that could drain a reservoir. The thinking was instead of turning on a pump to drain a reservoir, I would use the circuit to turn on my pressure sensor. The pressure sensor controls the burner which makes the steam. Once the steam is to 250 psi in the boiler, the pressure sensor disconnects the power to the burner. So by controlling the electrical power to the pressure sensor and turning it off when there is a low water level in the boiler will safeguard the boiler. Below is an image of the circuit board with annotations of how I set it up.

Next I needed to make a water column with at least two ports and position this column in parallel to the sight glass boiler water level. To do this I had to put a couple of T's in the copper lines and acquire some heavy duty copper pipe from our local building supply house. Below is the T at the top of the boiler along with the flare fittings. You will need to double flare the copper for a proper seal. This will necessitate finding a double flaring tool.
The bottom copper line was cut in two with a small section removed to allow for the T and flare fittings.
And by trial an error I bent the copper tubing to fit to the water manifold that I mounted on the opposite side to the boiler. This was the most convenient place to mount the manifold. I had to make a bracket from 2 inch x 1/8 inch flat stock steel cut to the needed length. See below pictures.


I found some spark plugs that were threaded instead of the push on connection, the most important consideration was to get spark plugs that would protrude into the manifold far enough. These spark plugs have a 25 mm threaded reach. You also need to cut away about 10 mm of the thread to expose the ceramic insulator and electrode. This is necessary to prevent chemical buildup on the spark plug. Next I mounted the circuit board and wired it up to the electrical box provided by Steam Traction World.

You can see that I am only using the lower two spark plug positions. I positioned the bottom of the manifold about 2 1/4 inches up from the frame. This positions the number two spark plug just above the lowest portion of the visible sight glass gauge. 
For the upper two positions on the manifold I am thinking about using them to control the bypass water circuit automatically via a normally open solenoid placed in the copper tube bypass feed line. When the water level goes down past the second highest spark plug it would trigger the solenoid to close and start the filling of water into the boiler until it reached the upper most spark plug. This idea would necessitate a totally different circuit board, one similar to the Series 1 Lykamobile that would monitor and control all functions sensed from the 4 spark plugs. 

I should also note that I had to separate all my lighting circuits grounding wires from the frame. This required me to run a separate ground to each light. My first idea was to use the frame as the ground by attaching a grounding strap from the battery to the frame. Doing this messes up the water level sensors making the circuit board non-functional. Below are the parts I used to make this emergency Boiler/Burner Shut-off.

The following was purcased on Amazon:
(1)    B0181RL1GA Circuit Board by SMAKN                                   $12.00
(1)    uxcell 85x58x33mm Electronic Waterproof IP65 Junction Box  $ 8.89 
The following was purchased from McMaster-Carr:
(1)    5975K46 Aluminum Manifold                                                   $47.31 
(1)    50785K222 High Pressure Right Angle 1/4 NPT Fitting          $ 4.90 
(3)    50635K381 45 Deg. Flared Fitting 3/8" Tube to 1/4 NPTF      $ 2.96 each
(1)    50635K534 45 Deg. 3/8" Tube T Connector                            $11.15
(6)    50635K564 45 Deg. 3/8" Short Nut for 0.065" Tube Wall       $ 2.70 each
(2)    50785K68  High Press. Adapter Fitting 3/4 Male x 1/4 F       $ 5.35 each
(1)    50785K43  High Pressure 90 Deg. 1/4 NPT Female x Male   $ 2.50
The following was purchased from Brillman Co (www.brillman.com):
(4)    B9005-001 Spark Plug Adapt. 1/2NPT to 14mm Gasket Seat $6.00 each
The following was purchased from an auto parts store:
(4)    Accel 578-4 Spark plugs                                                     $16.57 set of 4
 
You will also need about 5 feet of 3/8 inch heavy duty copper pipe/tubing, steel flat stock for the bracket and of course wire. The total that I spent for this emergency boiler shut-off was about $175 (not including any shipping costs).

Sunday, December 13, 2020

Trials and Tribulations Part 2

One modification that I detailed in a previous posting of adding a bracket was not as clear as I could have made it. Below I have annotated the installed bracket for the Valve Chest Blow-off valve. This modification was done really just for convenience for removing the floorboard. Previously the Blow-off valve was mounted directly to the floorboard and not to this metal bracket.


The next modification that was needed was for the chain tensioner. Steam Traction World did not provide any instructions for the mounting of this tensioner, but it became very evident that you need to hacksaw off as much as possible the stud that mounts the tensioner closest to the drive sprocket. If you don't reduce the profile of this stud, more than likely your chain will catch the stud and I can imagine catastrophic events might occur.
A final touch for the floorboards was installing the brass plates that will go around the brake and accelerator pedals. 
When I first steamed the boiler, I found leaks here and there. The first being from the water pump packing. Steam Traction World provided holes in the fitting where a small allen wrench can be used to crank down on the packing to seal the shafts from leaking water.


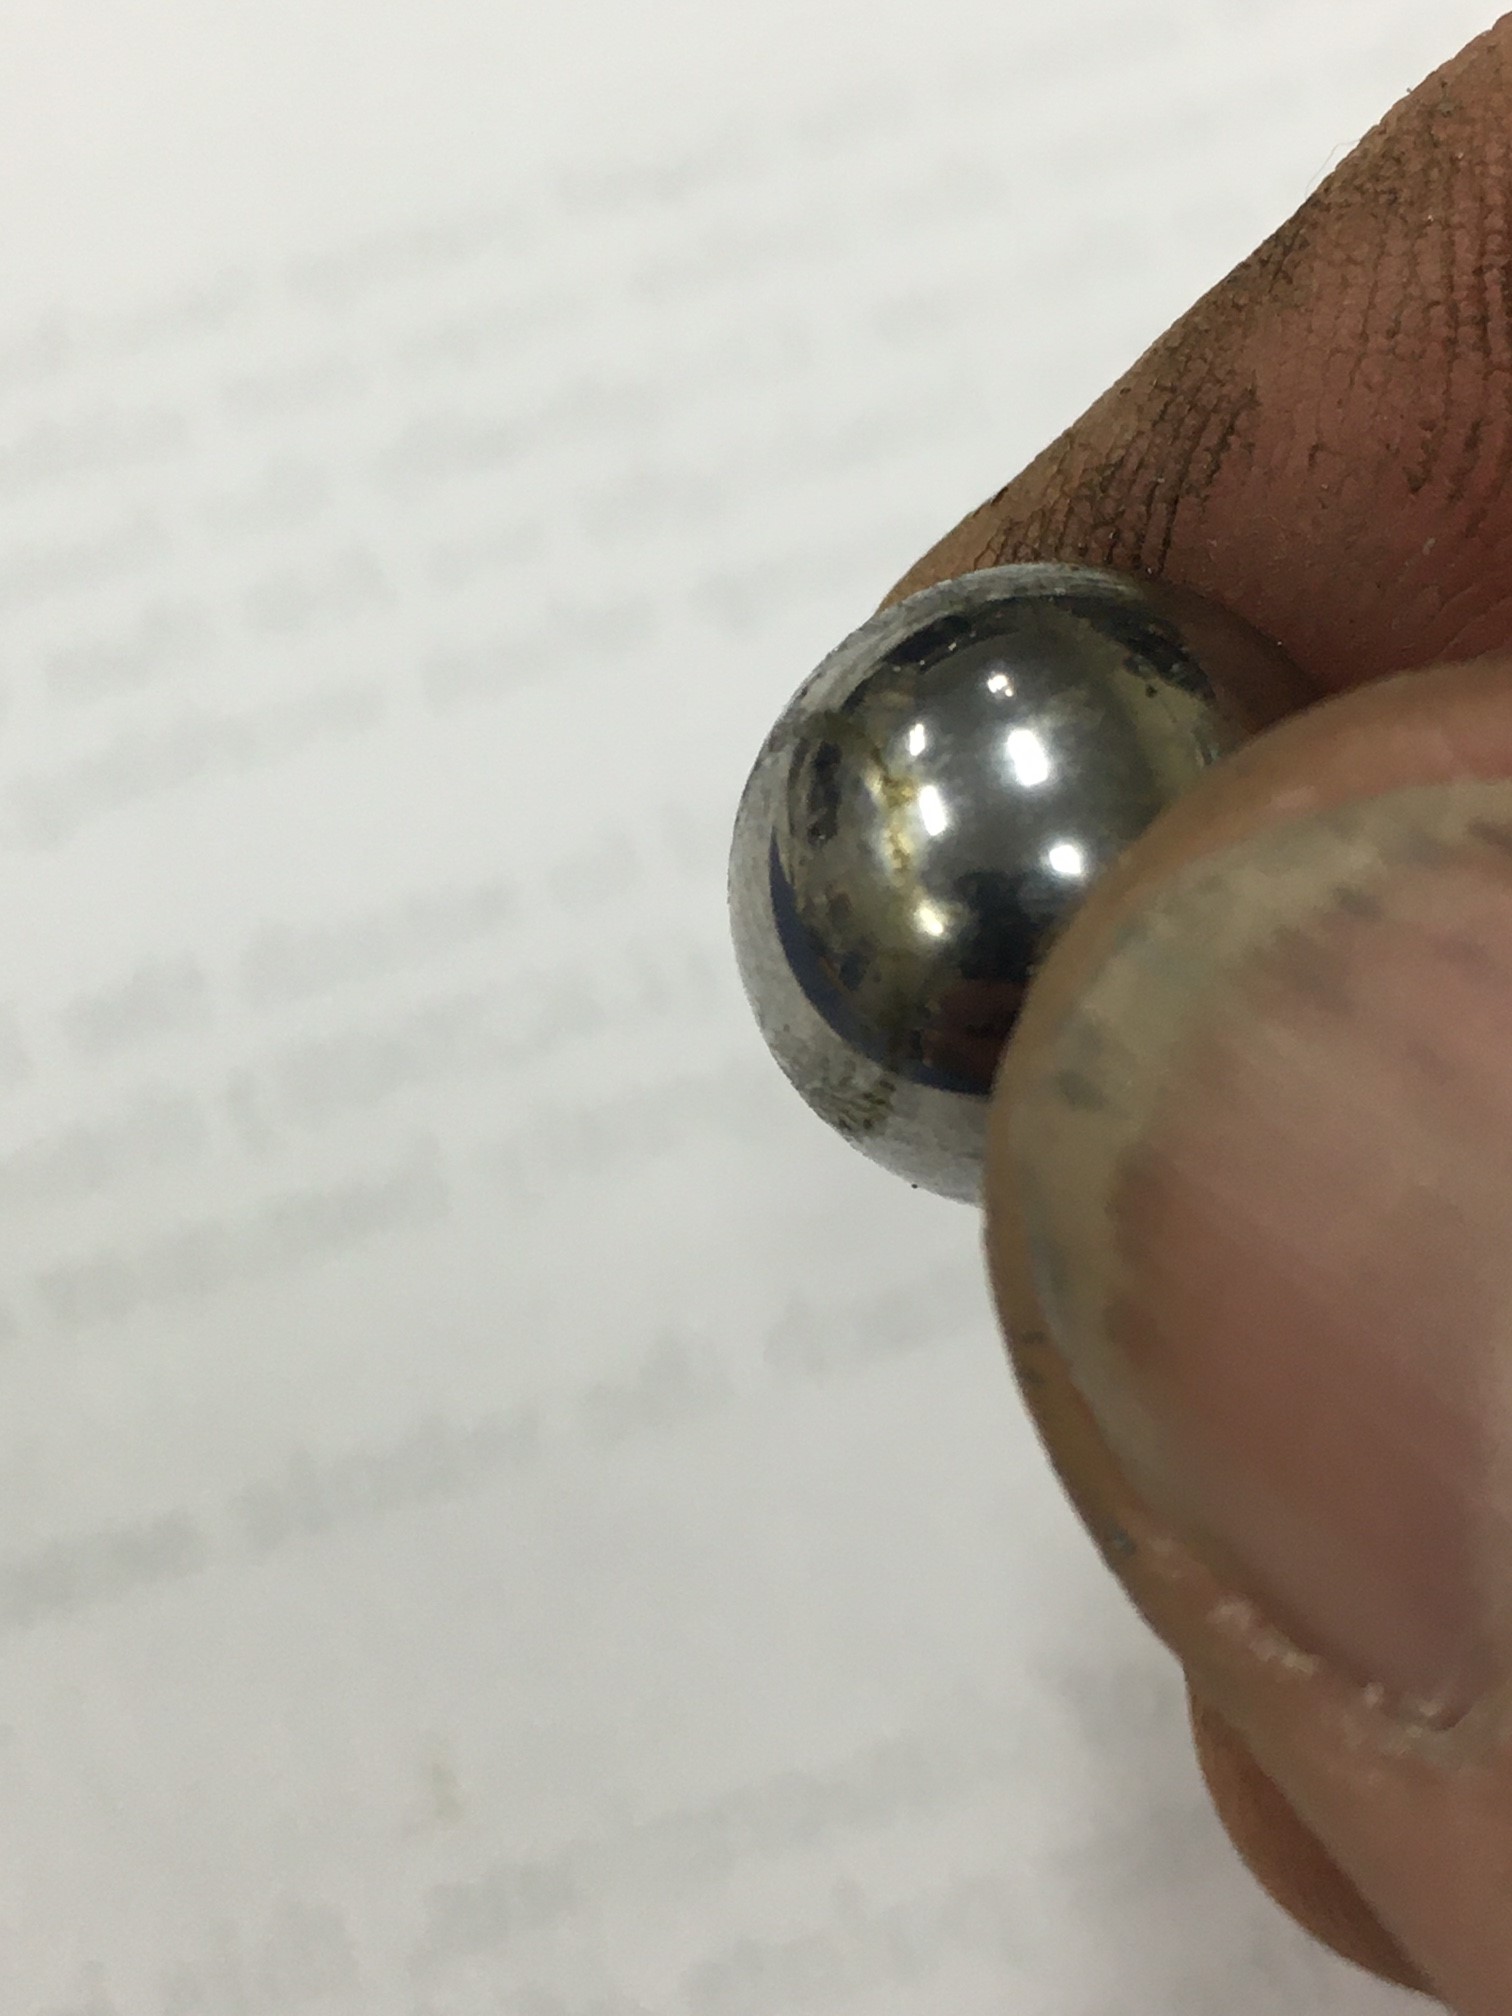
Next I noticed that when the boiler was pressurized, the boiler water infeed check valve was allowing pressure to leak by the check valve causing the water tanks to gurgle. So I took the check valve apart to see if there was anything preventing the check ball from seating properly. What I found was that the check ball was coated with oily sticky residue. So I cleaned this up. It helped but did not completely eliminate the issue. I am going to monitor this to see if the check ball and the brass mating surface will work its way to a good seal. If not then I believe I will have to take some valve lapping compound and figure out a way to lap the valve seat.


Dirty and sticky residue.
All Cleaned
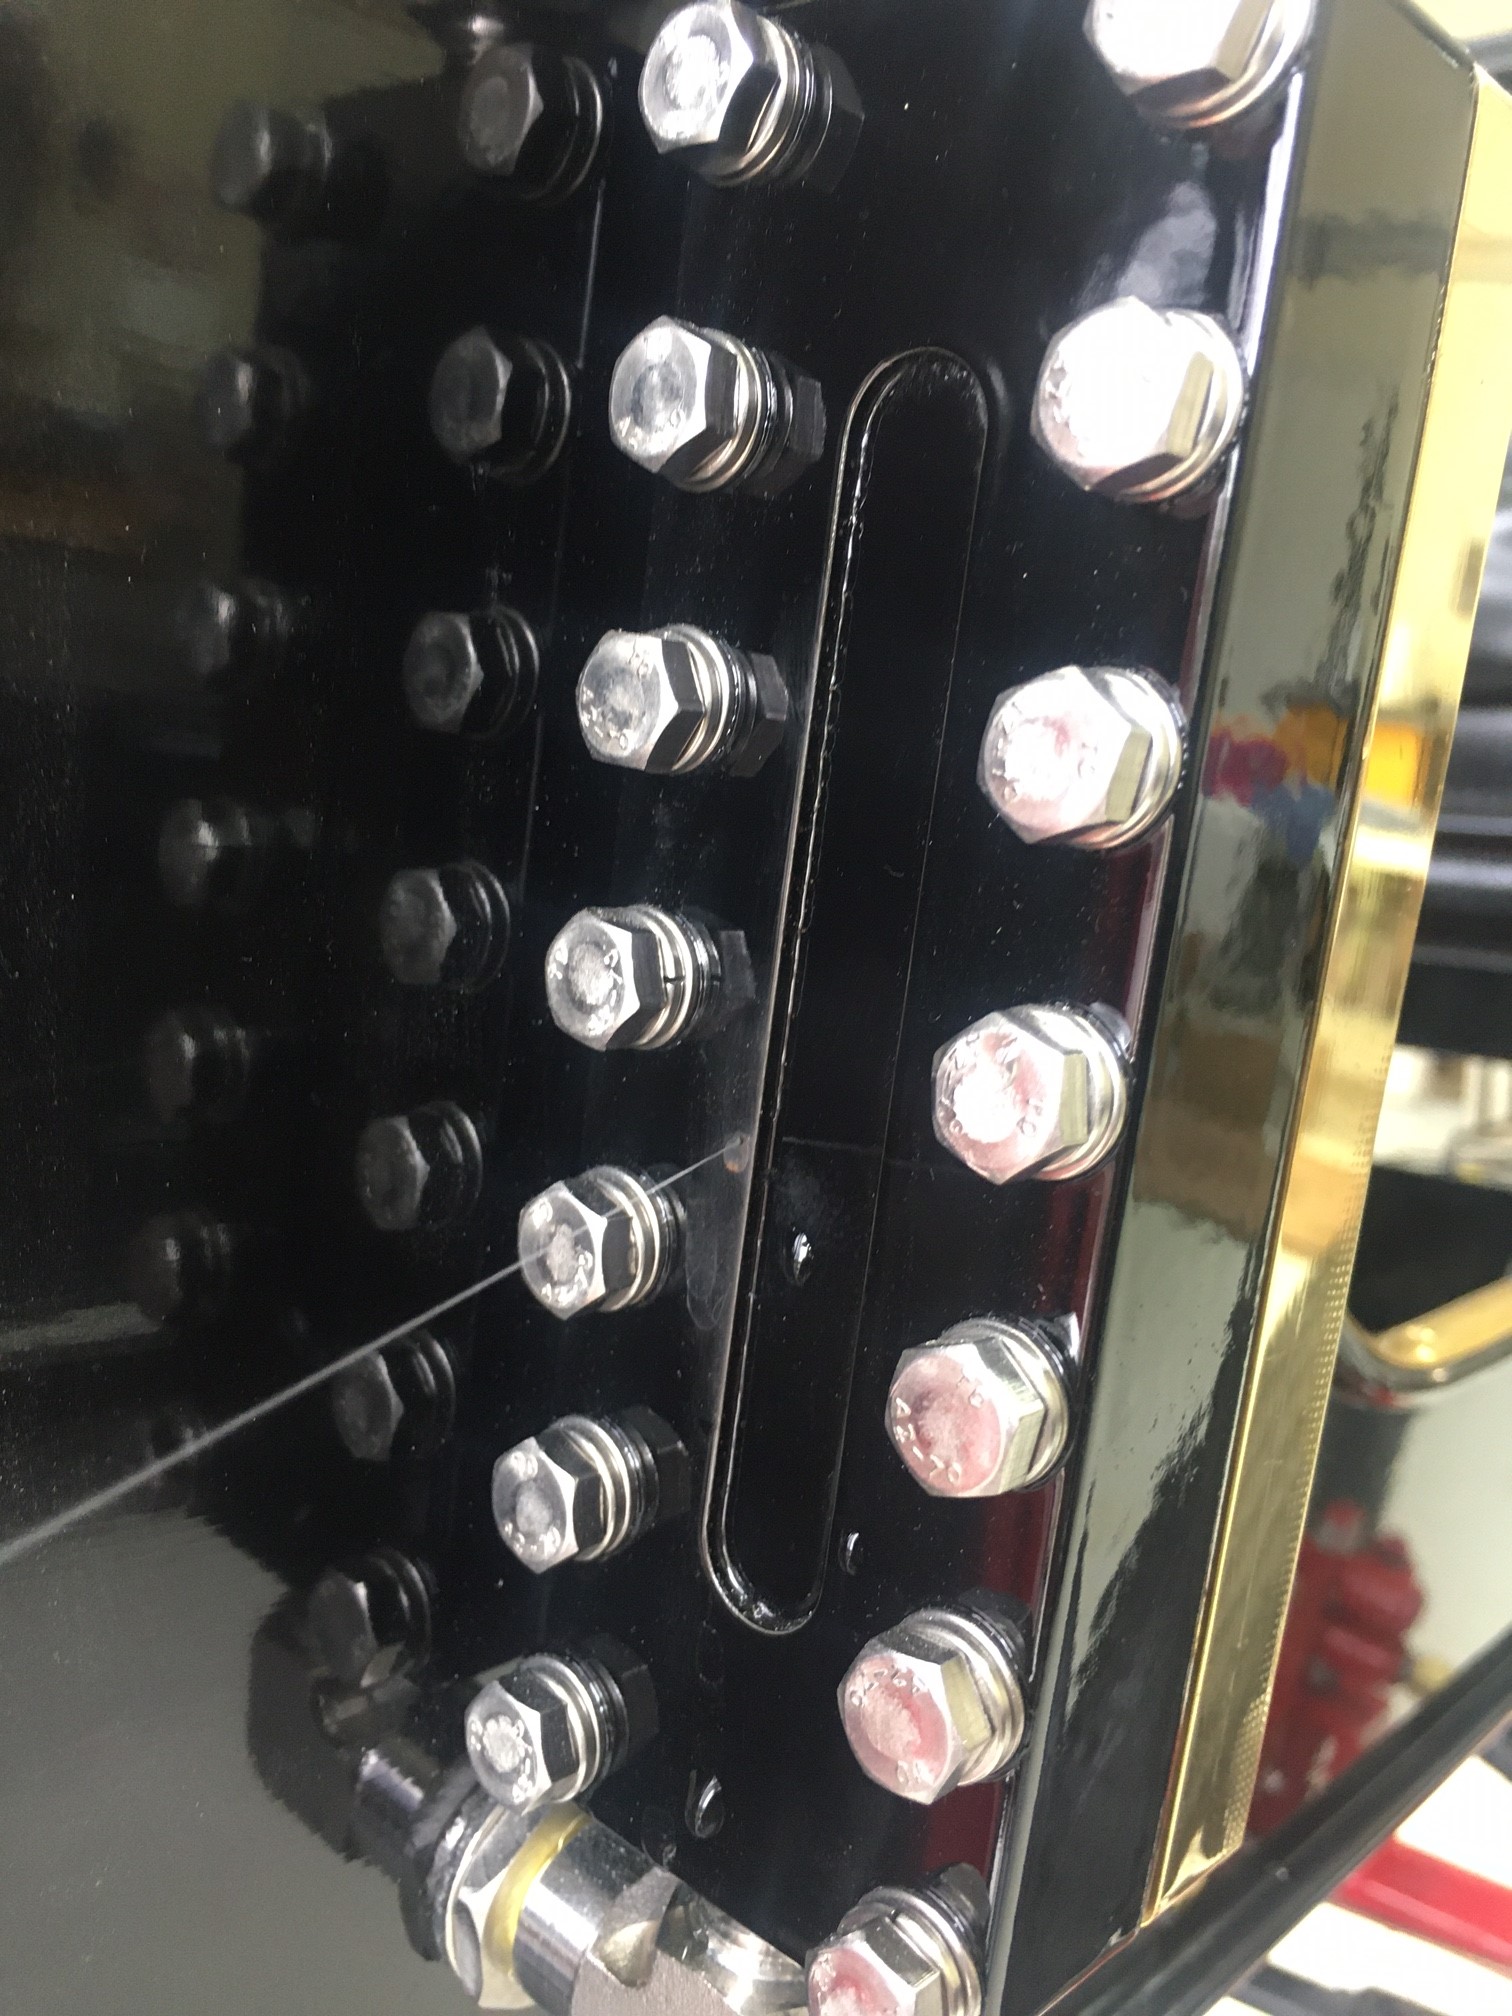
My next issue under steam was that the body for my boiler sight glass sprung a leak.
Front side of the sight glass gauge.
Back side of the sight glass gauge with streaming hot water.
I attempted to repair the pinhole leak, however after trying a bit by drilling and welding the hole, it became evident that the block had an internal material flaw and the crack was bigger internally than I felt comfortable with trying to repair. Steam Traction World sent me a new block as the fix and all is good now.


I ran the steam car several times and the performance in reverse is so much better than forward. Steam Traction World says this is an inherit design feature of the modified Hackworth valve system, but something was just not right. In my case I was getting a lot of vibration in forward and eventually my engine started to jerk in forward like it was trying to pop a wheelie. I attempted to re-time the valves several times, but ended up with the same results. It also started to develop a knock, but the knock turns out to be a separate issue which I will cover later. So once again I seek advice from Dean of Steam Traction World. Dean again reassures me that this can all be worked out and asks me to check the cranks to make sure everything is looking proper and that Ian, his steaming expert would give me a call the next available day. Ian looks over my pictures and tells me that I needed to reset one crank. It appears that I assembled the crank slightly off or the crank shifted somehow to possibly cause a timing issue. Ian explained over the phone how to do the timing again which I followed. Below is the picture of the crank showing the shift in the key and crank.
The other side had not shifted as can be seen below for comparison.
Once I loosened up everything and reset the crank and key, I re-timed the valves again. The procedure is as follows. First you need to place the reverser arm in the forward most position (third notch). 
Loosen the reverser control rod and adjust the arms as close as you can without hitting the counterbalance portion of the crank. You don't want the arms to be rubbing the counterbalance.
Once this is done, turn the engine by hand to Top Dead Center (TDC) and adjust the valve slide so that it just begins to crack open. Repeat this step at Bottom Dead Center (BDC). Verify that the TDC crack is about the same opening size as the BDC crack. Keep repeating the adjustments until both the TDC and BDC cracks are as equal in size as possible. Do this for both valve slides.
Following images shows the cranks at TDC and BDC with the valve slides and their equalized openings.


After making all of these adjustments, the steam engine ran much smoother in forward. I was able to test it up to about 20 mph. It might go faster, but I'm pretty satisfied with it at that speed.

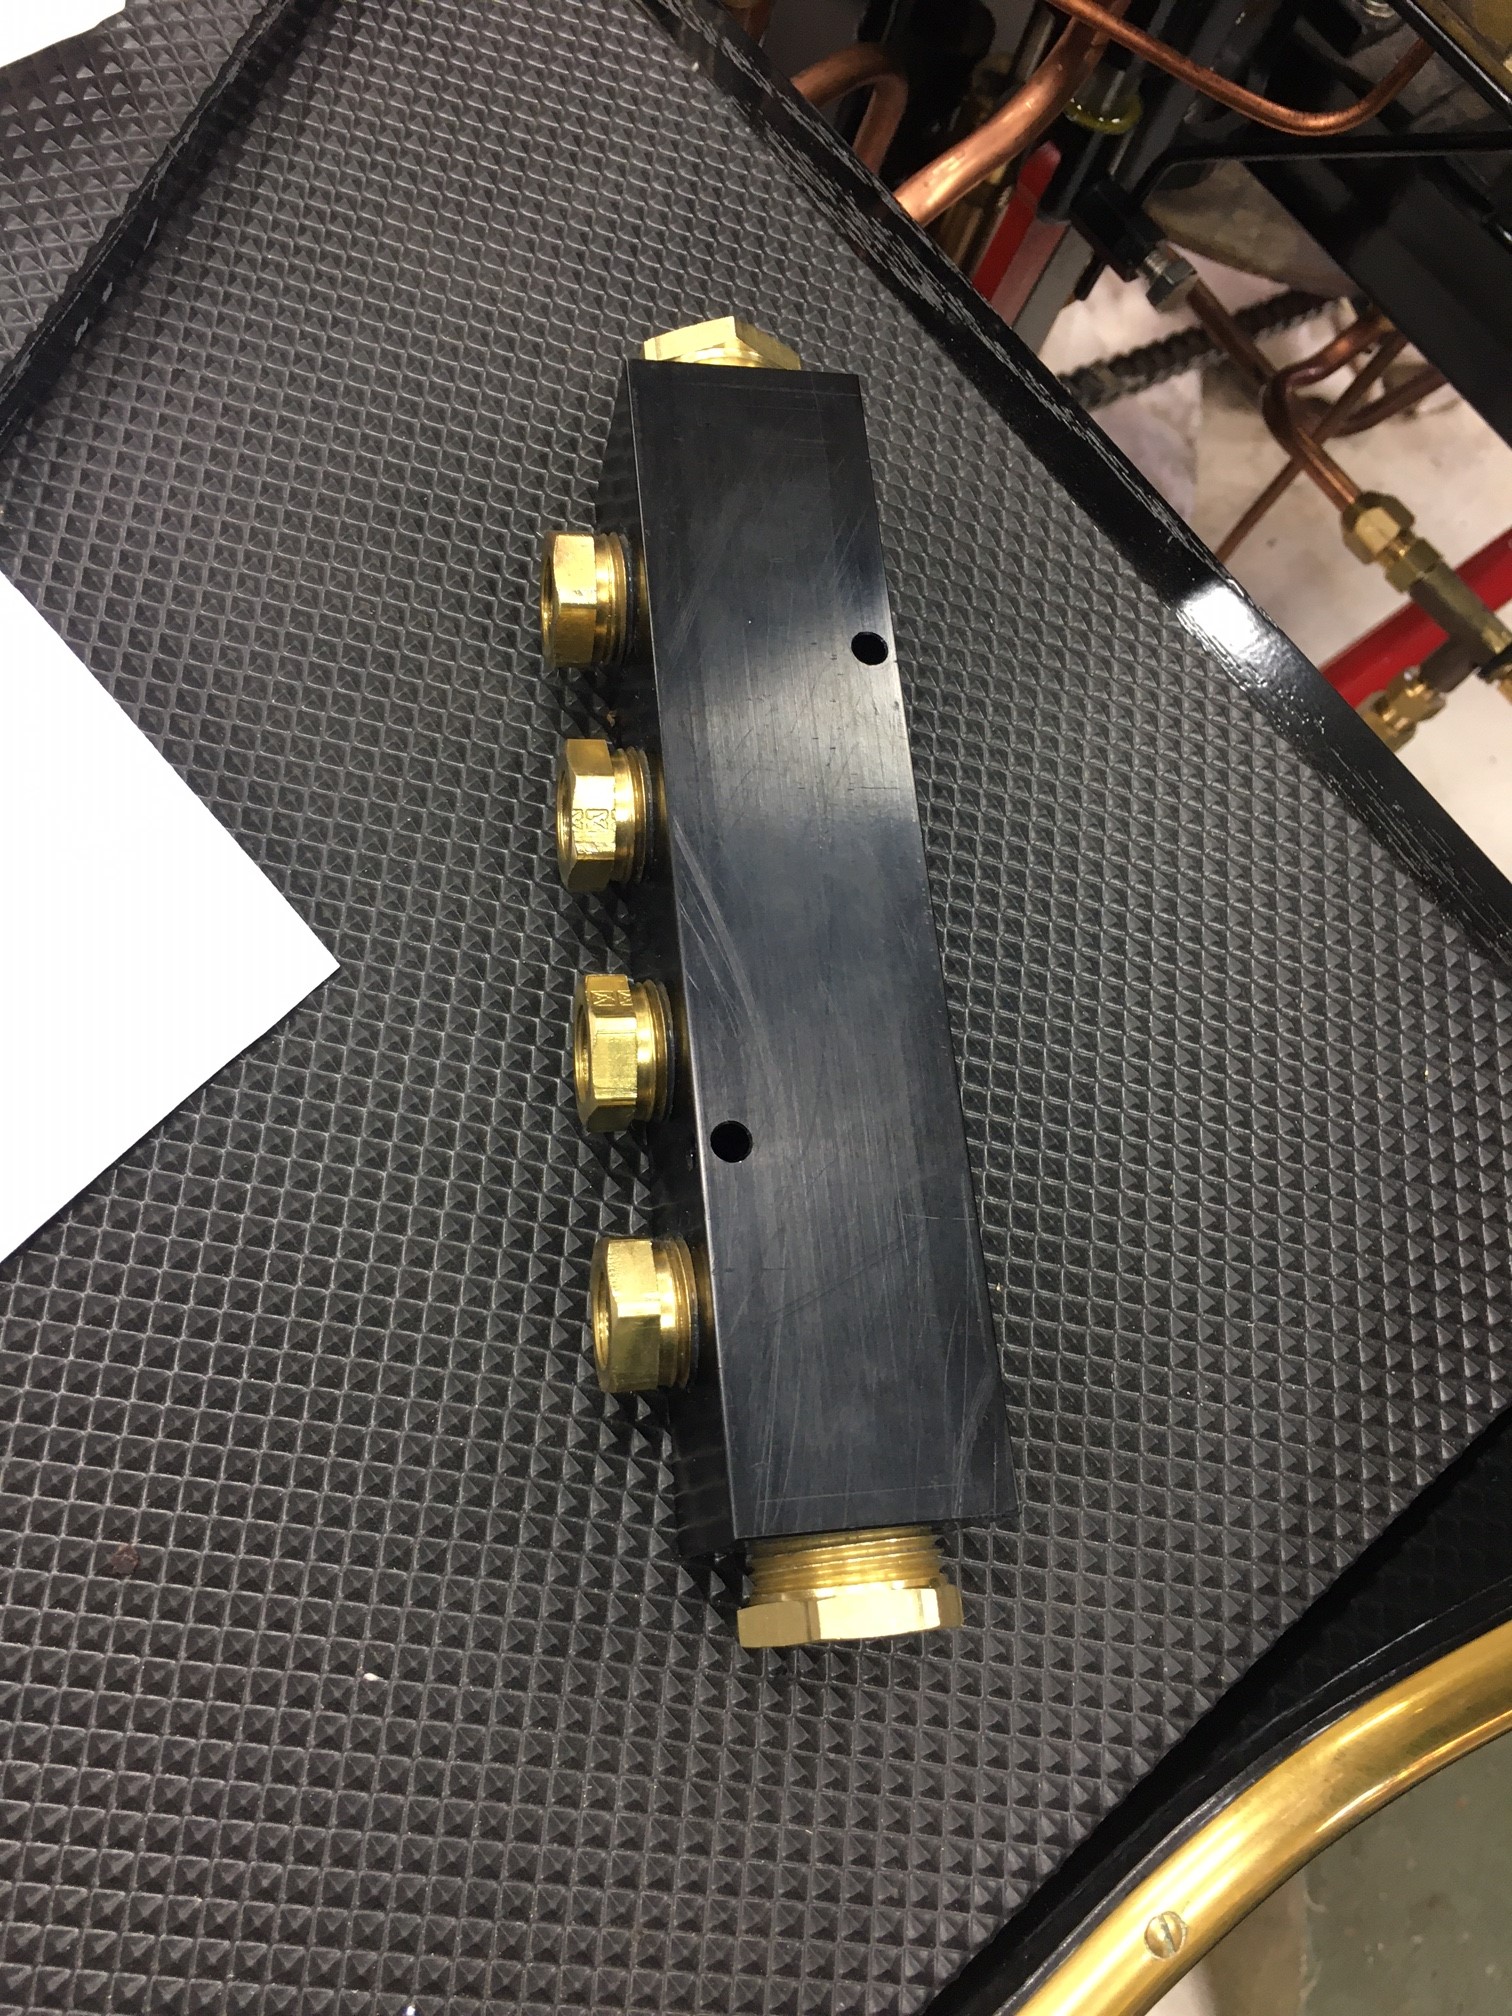
I mentioned earlier that a knock started to develop. I believe I know where it is coming from and unfortunately I believe that my driver's side engine cylinder block has loosened from the mounting frame plate. I can see the whole block assembly rising and lowering with the crank. Below is a picture showing the two plates (lowest two parts in the picture).
These mount with 4 flat head screws onto the cylinder block as shown in the following picture.
And then this assembly is mounted to the engine beam.
Because the flat head screws are hidden between the flange and the engine beam, I will have to disassemble one side of my engine to get to these screws. I have not done this yet and I am hoping I might just be able to unscrew the four bolts on the flange and rock the assembly over a bit to get an Allen wrench in there to tighten the bolts and place some thread lock in there too. But it must be done.

Finally I am working on an Emergency Boiler Shut-off for a low water safety feature. I do not want to ever cook my boiler again. I believe I can make a system for about $200 which will be cheap in comparison to ruining a $5000 boiler. Once I have worked out the design I will make a posting on this modification with a parts list.

Happy Steaming !!

Popular Posts