
The kit consists of all the brake pedals, master cylinder, brake lines (pipes), flexible stainless steel braided brake lines, and some of the fittings for the parking brake.
First duty is to straighten the long brake line from being wound up a bit for packaging. Then to feed this brake line through the right side tubular steel frame. Notice that I taped the fitting to the brake line. That didn't work too well and the fitting got loose and slid down into the middle of the frame. A better way was to bend the brake line just enough to hold the fitting from sliding.

My second attempt with a slight bend AND tape.

There was a little difficulty getting past the two M6 Hex Screws that attaches the frame to the springs, the tape was a bit too much, but I managed. I don't think you need the tape, just the slight bend.


The other end of the brake line below:

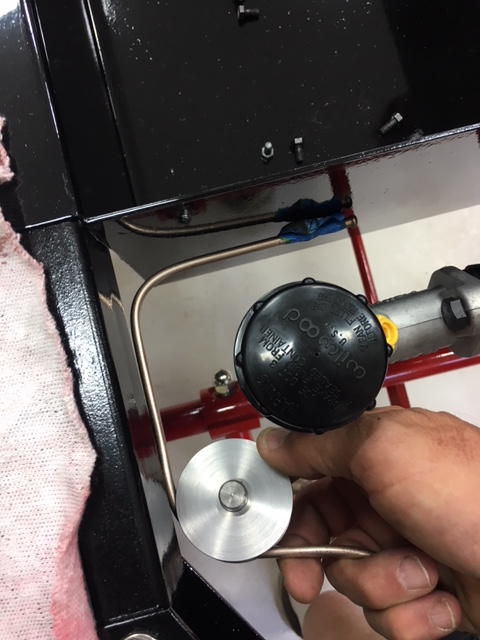
Next was to mount the Master Cylinder temporarily.

I discovered (the hard way) that you should really mount the brake line (pipe) for the top of the Master Cylinder so that you can see where the brass "T" that is mounted on the side of the battery tray should go approximately. Then bend the brake line from the right frame to the brass "T". The following pictures should clear this up a bit.

I used the parking brake pulleys that Steam Traction World sent in this kit as a tool to radius bend the brake tubing. If you are not careful you can kink or pinch the tubing and that would be a disaster.
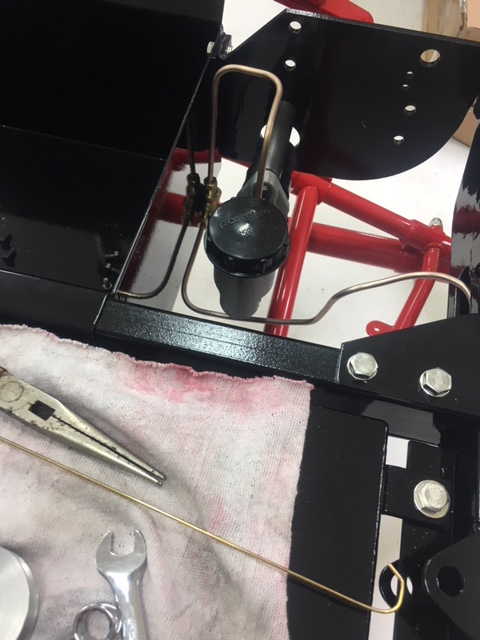
Above was my first attempt of running the brake line before I realized the brass "T" had to be mounted farther forward.

Re-working my bends.

And final pathway.


Next was to mount the brake line from the brass "T" forward to the bulkhead fitting.


As you can see there is quite a bit of distance to make up. Luckily, Steam Traction World provided an even smaller parking brake pulley that I could use to reshape this short piece of tubing.


I basically re-radius the bends a little more into an "S" shape to get everything to line up.


Then the brake line that mounts to the front - tracing the front axle. I pre-assembled the two tubes and one brass "T" loosely before mounting it.


And then mounted the two outboard bulkhead fittings and assembled everything.


Next was to mount the brake line from the middle brass 'T" to the steering column.


This is a slight problem. The brake line is not making the distance. So a little adjustment to the brake line bends and a little adjustment to the location of the steering tube solved this issue.

As you can see above I had to loosen the steering tube clamps and gently tap the column down with my plastic hammer. You can see the miss-match of the clamp. I had to gently raise that half (right side) of the clamp - trying not to bugger up the paint. That's it for the front rigid brake lines.

I began working on the rear brake lines, but ran into an issue with the short right side brake pipe. The mounting of the Brass "T" to the rear axle where Steam Traction World drilled and tapped an M6 appears to be just off a little OR the short pipe is just a bit short -- about 7 mm. Ho Humm....


I sent Steve an email, but I believe the solution is for me to move the brass "T" over by drilling and tapping a new M6 hole. The brake line on the other side of the brass "T" is flexible enough to make up this distance. This modification and running the flexible lines will be covered in my next post.
*** Update: Steve of Steam Traction World is going to send me a longer brake pipe. He didn't want me to drill and tap a new hole.


No comments:
Post a Comment