
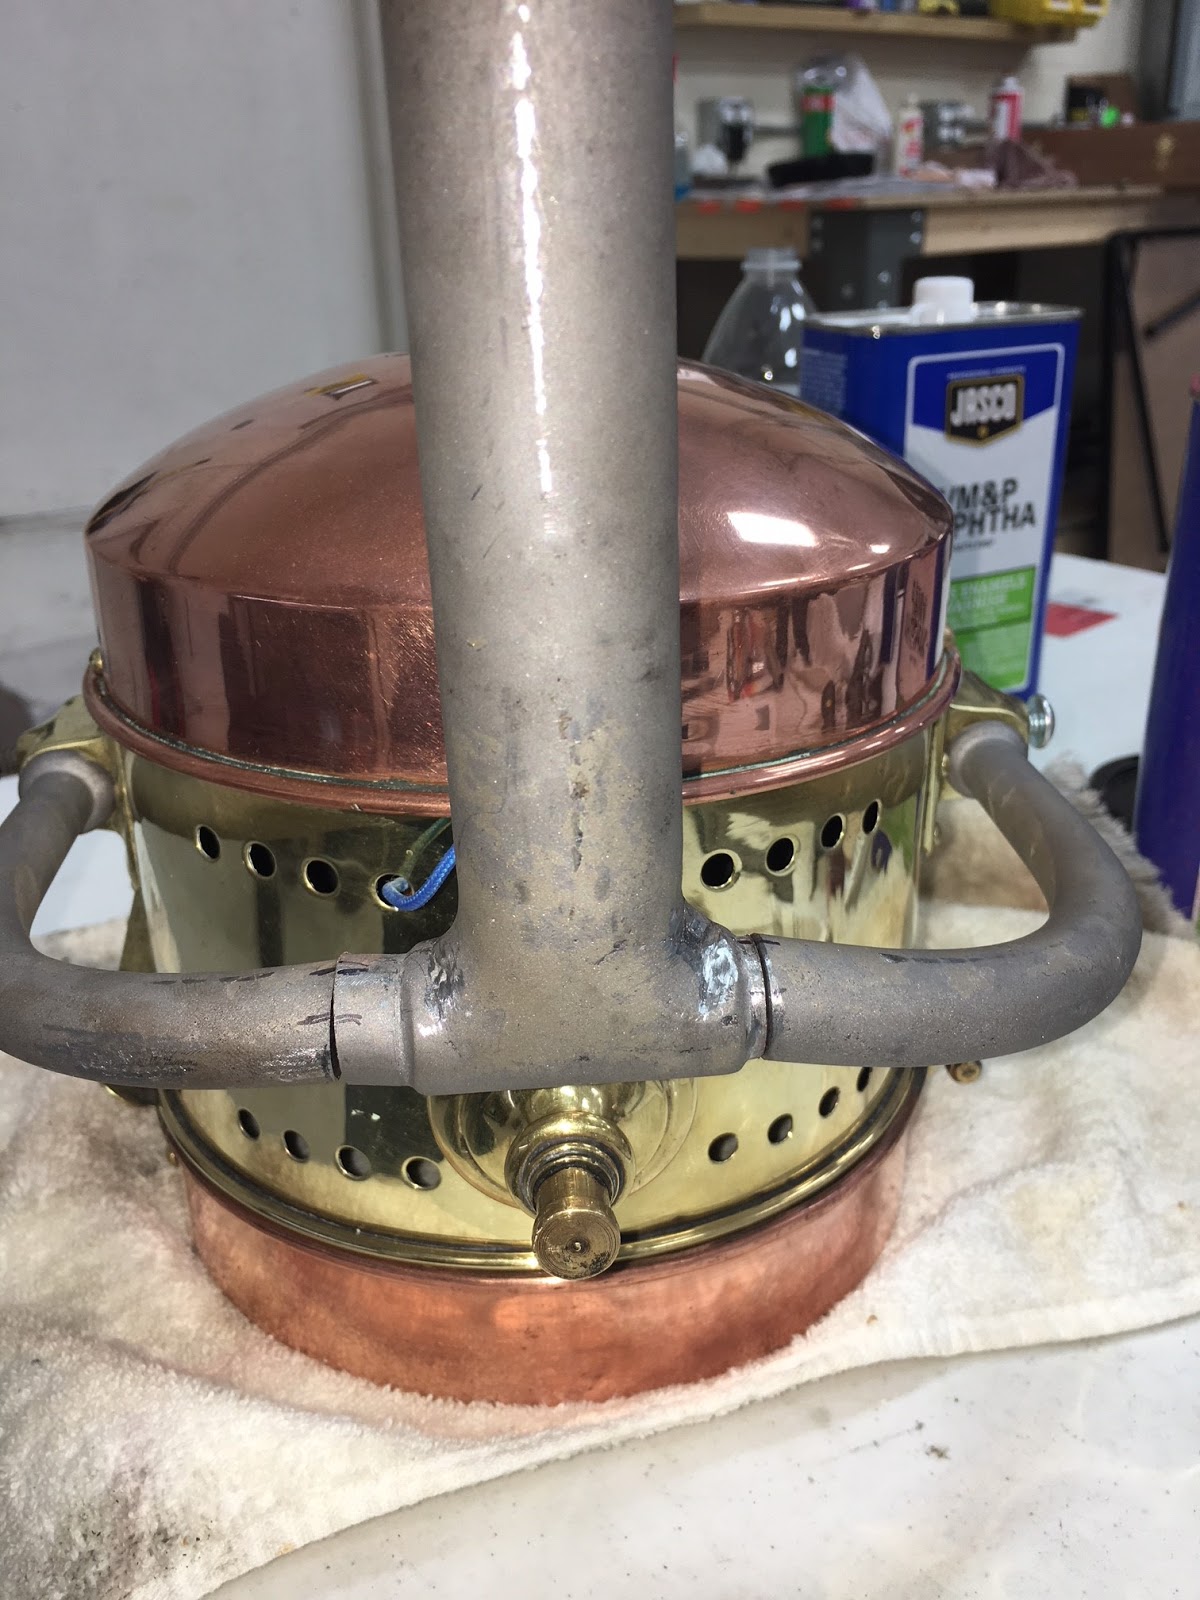

I did try to braze it, but the mass was just too great for my Oxy-Acetylene rig, so I ended up MIG welding the pieces together. I'm not that good at MIG welding and am learning as I go. I also decided that I needed to fashion a "C" bracket to aid in the mounting of the lamp. I used 1.5 inch x 1/8 inch steel cold rolled flat stock and heated the ends with my torch to aid in the bending of the flat stock into a "C" shape.


This piece will be mounted to the front cross member and lower shackle spring clamp piece.


I first drilled M5 clearance holes in the top side of the bracket.

And then I placed the bracket and positioned it where I wanted it on the front cross member and transferred the centers of my M5 clearance holes and tapped two M5 holes to mount the bracket.


I also drilled and tapped one hole to fix the lower portion of the "C" bracket to the shackle spring clamping plate. Below I am holding the Lamp with the mounting fork up to see how everything lines up before proceeding with the next steps.

Being satisfied that everything "should" work, I proceed with drilling an M8 clearance hole in the center of the "C" bracket and tapping an M8(1.25) hole into the Lamp Fork.

I attach the "C" bracket to the fork with an M8 hex bolt and tighten it so that I can make a final test by mounting the lamp to the front cross member. I make a few alignment adjustments and then lock in the M8 fixing the "C" clamp to the fork. I then MIG weld the "C" clamp to the fork. The pictures below is after I ground the welds down some to make them a bit more presentable and have sprayed painted gray primer on the rig.


And once the primer has dried, I mount everything one more time before I top coat with black paint that will match the frame.


(notice the BFH on the floor - I had to use it once to flatten the "C" bracket some!)
Kit 15 is supposedly finished, but I have not received word if my shipment has been dispatched yet. It is probably a good thing it has not been shipped yet due to the Government Shut Down which includes the customs department.


No comments:
Post a Comment