


Once everything is fitted, I will prime and paint the bracket black and remount it for final assembly of the Control Console. But first I need to route the wiring harness loom through the chassis. I took a welding rod that is fairly rigid and stiff to help guide the wires through the chassis. First I loop the two wires for the left side chassis (wires for the inverter on the burner).

Then I feed the welding rod into the left chassis opening and push it through to the other side.


Now I can grab the welding rod and pull the wires through the chassis.

I repeat this process for the right chassis wiring loom.

Look closely below for the copper colored welding rod poking out of the right frame access hole.

And now I pull the welding rod further out to feed the wires through the right chassis frame.

I fed the loom through the same grommet that I placed to help isolate the brake line/pipe from rubbing against the frame.


I tried to follow Steam Traction World's instructions for installing the batteries, but I discovered that because of the type of battery I used (due to the fact that in the USA we cannot source the recommended Hankook brand battery), my terminals were opposite and therefore the wiring to the battery terminals was too short. No worries I found away around this as shown below.
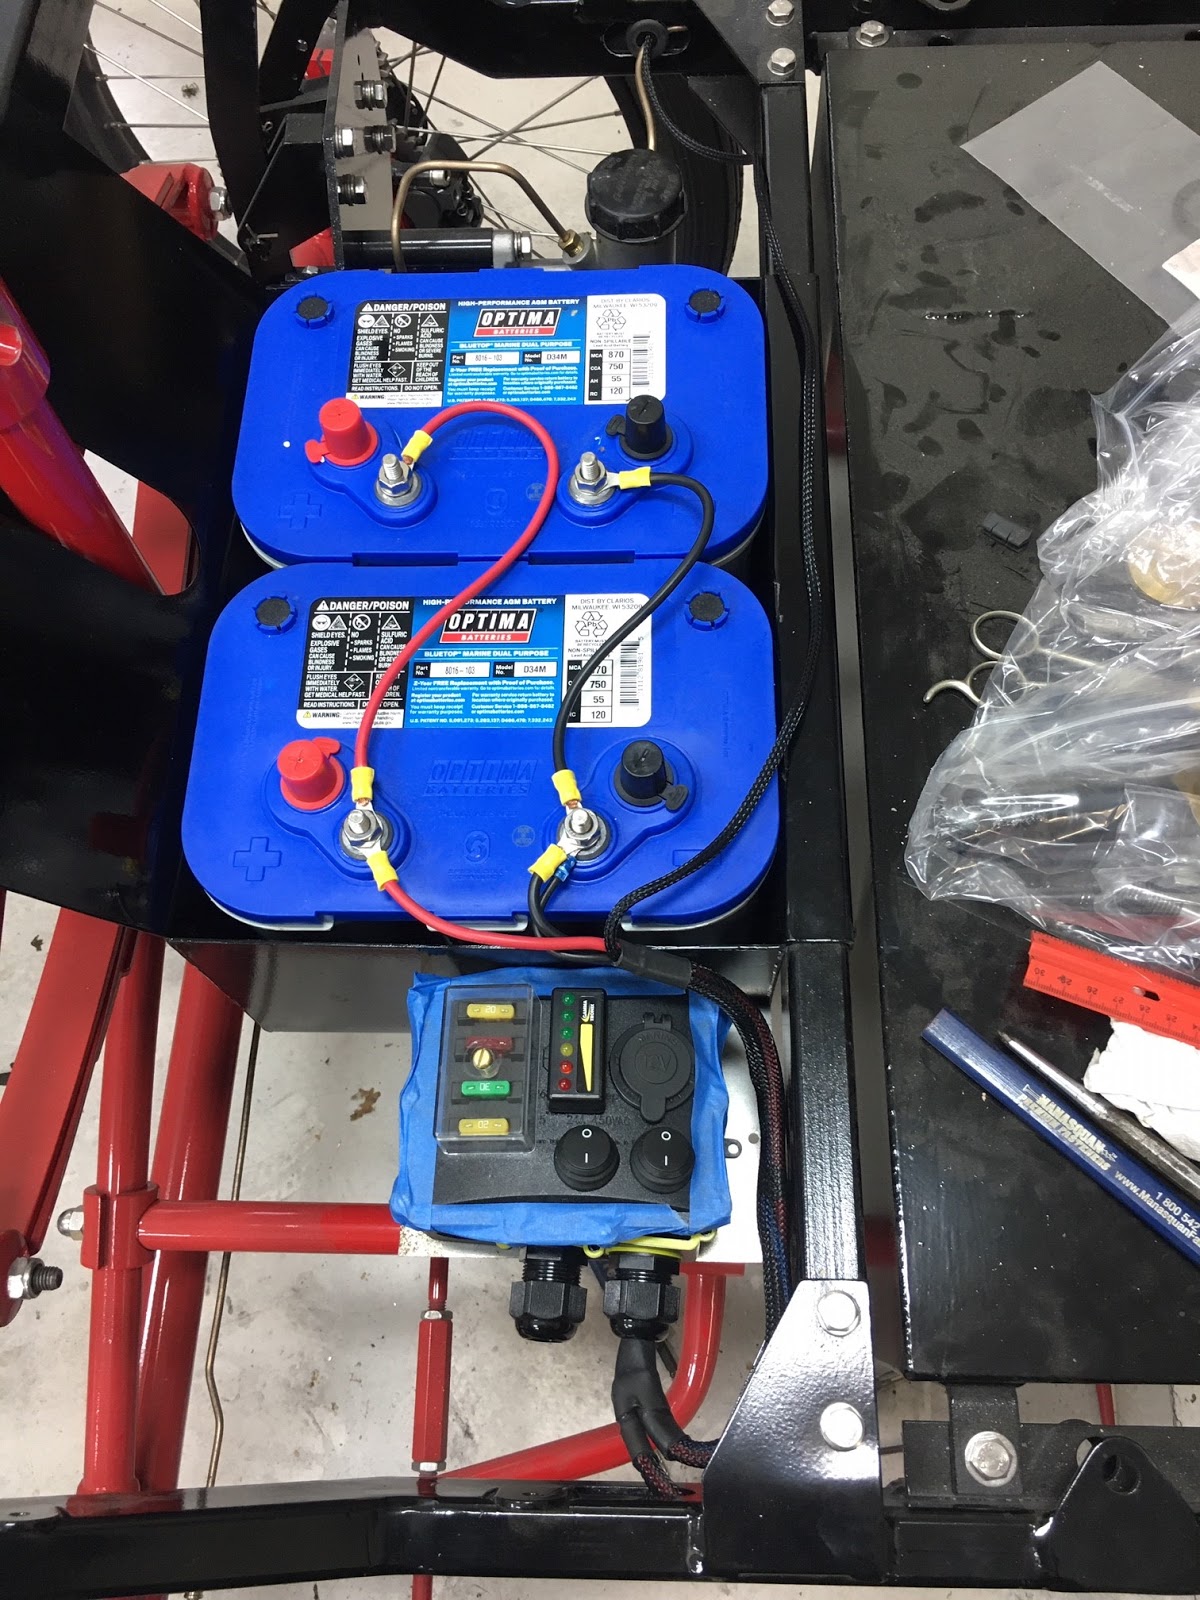
Notice the blue painter's tape around the Control Console. I unscrewed the lid to look inside for future reference for when I run additional wires for the headlamps and brake lights. Steam Traction World only provides a terminal inside the Console Control Box for those builders that want to add lighting. The blue tape is to keep the screws from falling out -- as they did a couple times until I got smart about it!
Below is a close up of the wiring loom going into the left frame member. I purchased a rubber grommet to help isolate the loom from the chassis. I did the same for the brake tube/pipe on the right chassis frame member and fed the wire through that grommet too.

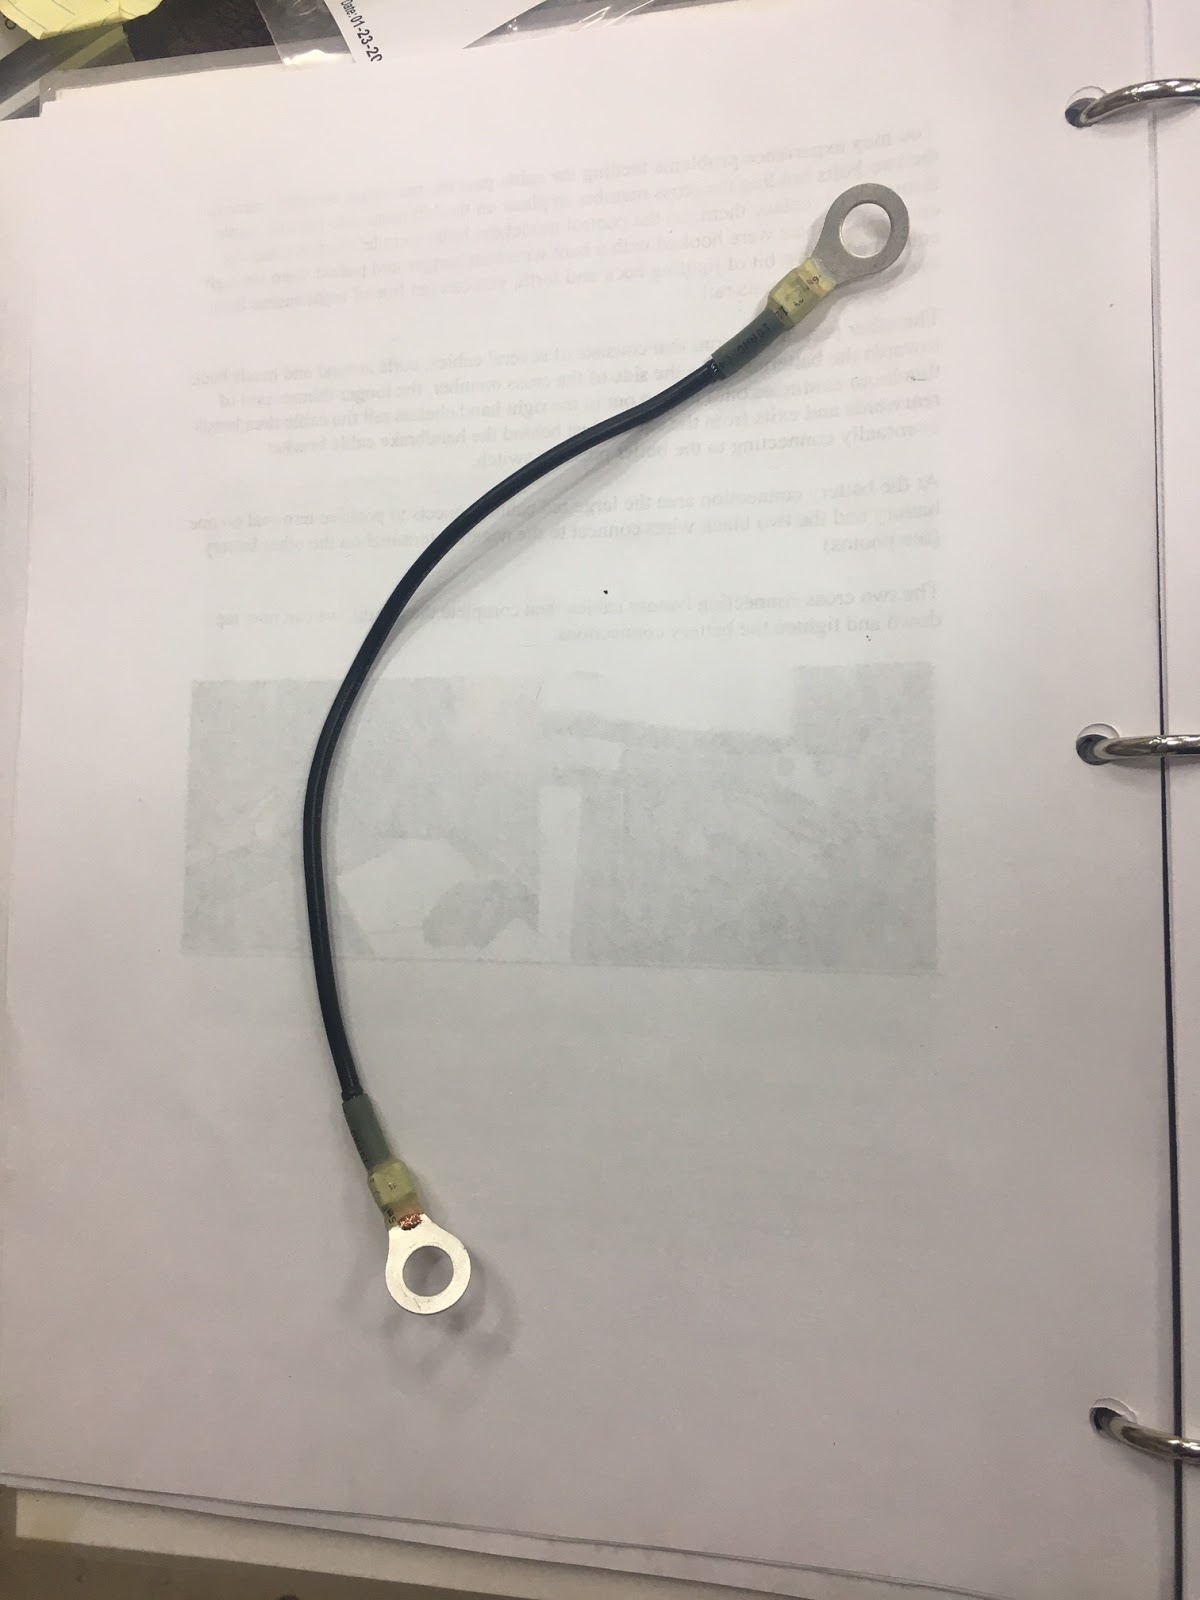
I fashioned a grounding strap for the frame. This will be necessary for the lighting that I will be installing at a later time. It is a 12ga copper strand wire with two 5/16 inch diameter eyelets crimped on each end.
Final layout (I believe) with the grounding strap fitted to the battery and frame. (the positive terminal wire from the loom won't be installed and is taped off for the time being for safety reasons).


The next picture shows the clearances left in the battery box. I may place a rubber strip between the battery and the box just to keep the batteries from bouncing around. To be determined later. But as you can see these Optima D34M batteries fit really nicely in the battery box. My only concern is if the floor board will interfere with the terminals. But I believe it will miss by a millimeter of two, and as they say "a miss is as good as a mile".

I have ordered wiring for the brakes and lights which will be covered in Part 2 for Kit 19 at a later posting.


No comments:
Post a Comment