


The base for the water gauge was powder coated black too, I also buffed the brass cover before assembly. The assembly is pretty straight forward as shown below.


Next was to install the stainless steel 90 degree elbow fittings to the gauge. I put it in my vise using my plastic jaw covers and some paper towels to prevent scratching the surfaces. The centerline to centerline for the elbows need to be about 180 to 181 mm. This depends on your side panel hole locations.

Next I install hopefully for the last time the water tanks and the two side panels to the frame.


Now it is time to install the water level sight glass gauge. First the special pipe fittings are loosely installed through the side panel.


I used a deep well 22mm socket to screw in the special pipe fitting into the water gauge from inside the frame, once this was tight, then a 22mm open end wrench to tighten the jam nuts. Notice I placed a stainless steel washer against the side panel to prevent marring of the paint.


Now onto the seat. First I need to place the wood strips on the underside of the seat cushion. The wood strips will locate the seat cushion securely on the wood frame. I place the seat on its side to layout where I want the strips of wood. The strips of wood were drilled and count sunk for the wood screws.


I predrilled the holes into the bottom of the seat cushion, being careful not to drill completely through the wood. I placed the strips 24 inches apart.

Next fitting the metal backrest to the top of the seat. I used some wood clamps to temporarily locate the metal part. This allowed me to make little adjustments in its placement before pre-drilling the screw holes into the rail.


All screwed down.

Next the placement of the cushion on the back rest. I centered the cushion and screwed into place the cushion and then worked my way out side to side. The curvature of the cushion would then have a better chance of laying flat against the metal part in this manner. The screws that Steam Traction World were steel, and would probably rust in short order, so I replaced them with brass round head slotted screws with brass washers to protect the paint.


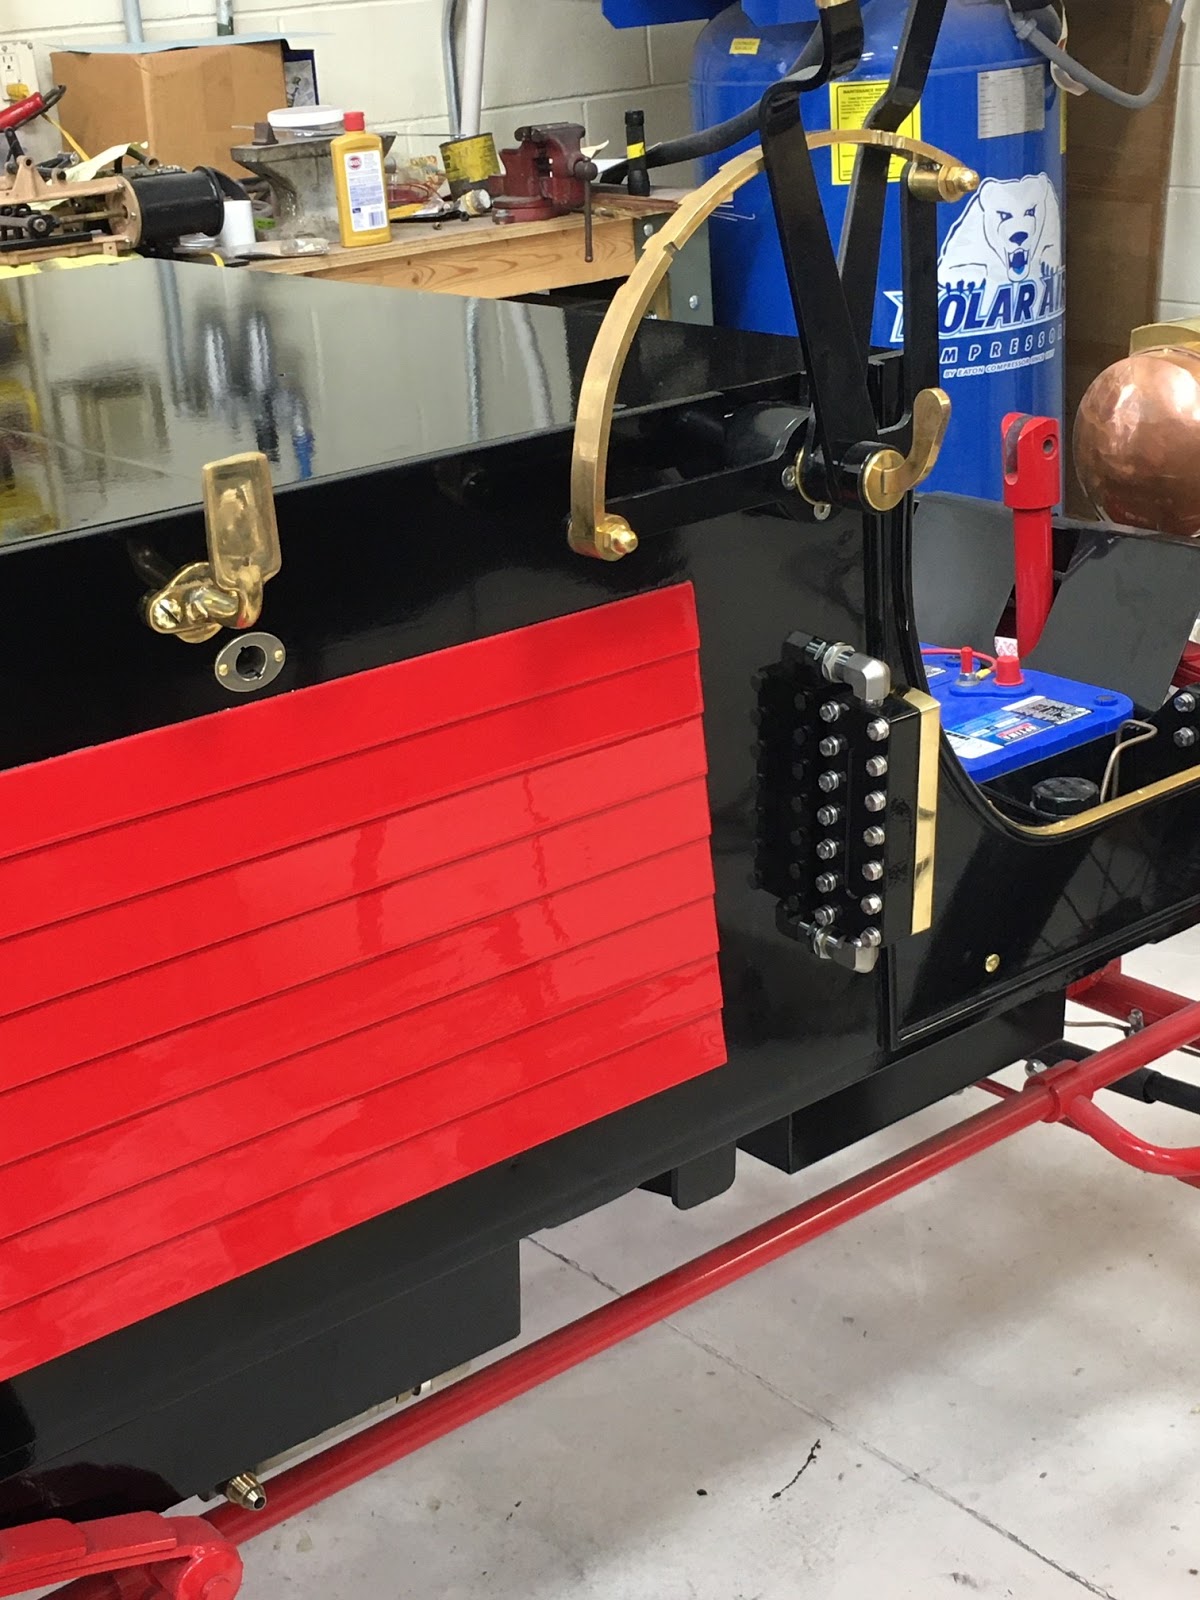
Below are pictures of everything installed, except for the dash. I am also going to glue diamond patterned rubber matting to the floor boards, but I will wait until we receive the brass pedal surrounds for the floor boards before proceeding.


Getting very close now, hopefully the two remaining kits will be dispatch soon.


No comments:
Post a Comment