

The leaf springs had a lot of scale from the manufacturing process due to the heat treatment. The quickest method I found was to sand blast each. This took me approximately 2 1/2 hours for each pair of springs. I found the surface of the springs to be rather ragged so I opted to prime the springs in a heavy duty rust preventative primer (Rustoleum).

This primer you really need to let cure for several days. The worse thing you want is to push it and paint over this before it has properly dried/cured. Ask me how I know! I have experience in the past with stripping down my work because the paint crinkled from applying the second coat too soon. Next I applied a second coat of Marine Gray Primer.

The manufacturer called for 12 hours before top coating. I waited a few days before flipping the springs and painting the other side. I top coated with the bright red yacht paint and again waited a few days and flipping the springs to paint the other side. I did wait another week before handling for final assembly.

Steam Traction World suggest that no grease or lubricant should be used on the leaves themselves, however I have used for other leaf springs UHMWP (Ultra High Molecular Weight Polyethylene) in the past with success. You can get this material in various widths and lengths and with a self backing adhesive too. It is used between parts to minimize squeaks and rattles. UHMWP provides a nonstick, low-friction surface. I acquired a couple of rolls from McMaster-Carr. I chose the 1 inch wide x 0.007 inches thick - 18 yards and 5 yards. I hoped that 18 yards would have been enough, however I chose to put the tape on both sides of the leaves.

The blue tape is the backing that is removed from the UHMWP tape exposing the adhesive. You will notice that I used painter's blue masking tape to mark where the UHMWP tape should start and end on the bottom leaf. All I did was place the above spring on the lower spring to gauge where the blue painter's tape should be placed.


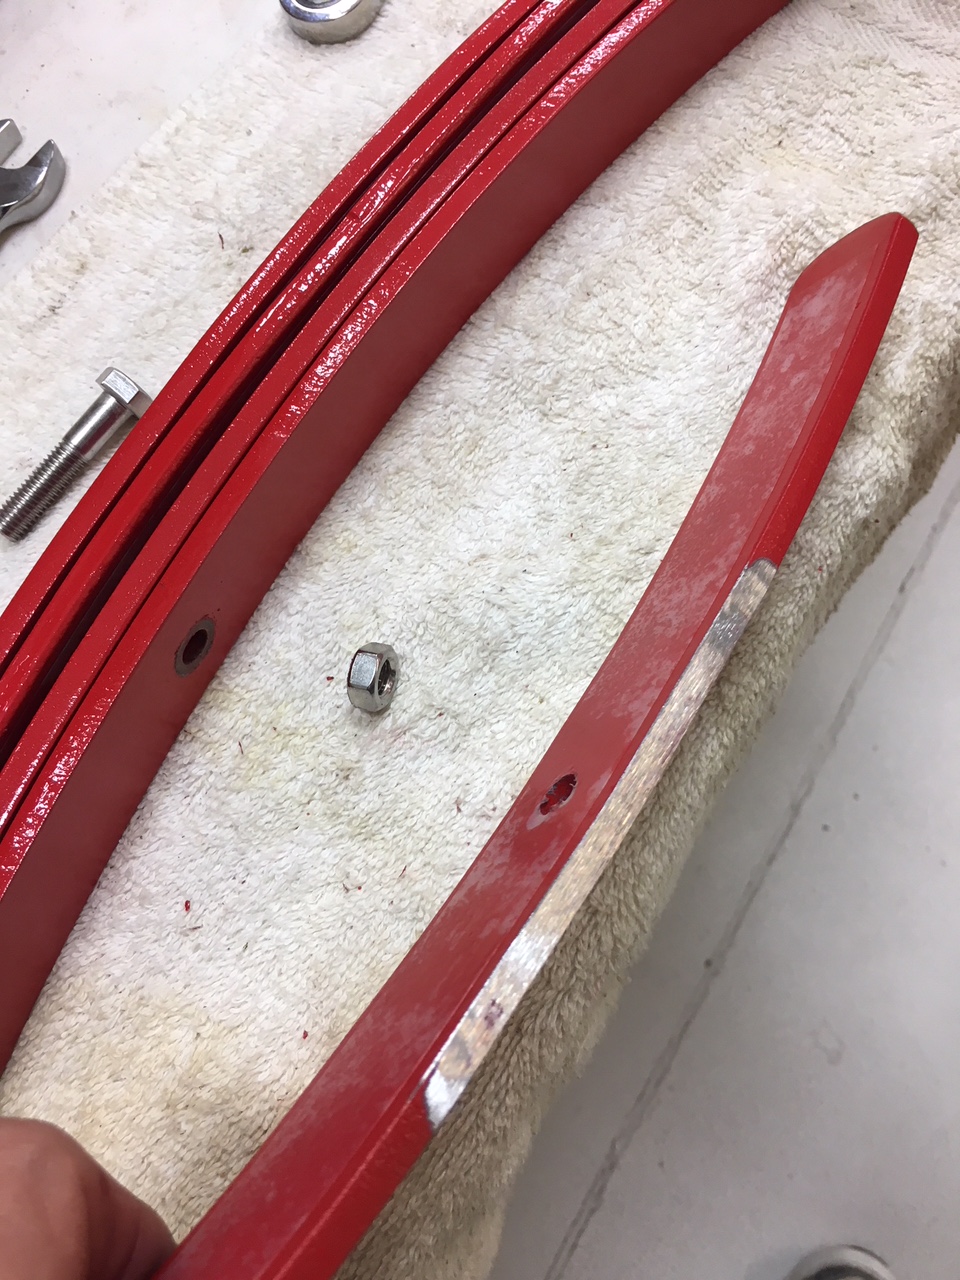
Of course you have to cut out the holes. I created a lot of sticky dots that got all over my sleeves :) My first attempt of assembling the two halves didn't work out. All of the springs came to me from Steam Traction World assembled in their raw unfinished form, and disassembly of the springs of course allowed the springs to relax. As you can see in the next image, there was no way to get these aligned without further cajoling.


So I brought out my wood clamps and squeezed the springs thereby elongating the lower leaf. You will notice that I assembled the upper half to stiffen that side so its elongation would be minimized allowing me to align the bronze bushing to the upper leaf spring.


And final assembly.

So at this point I repeat this again for the next two pair of springs and assemble all the leaves. Now I wished I had test fitted on the chassis because unbeknown to me, the channels where the leaf springs are mounted are about 0.040 inch interference fit. Could the paint be that thick? No, but it does add to the issue. My best solution was to mark off on each small leaf spring where the interference fit is and use my belt sander to remove from each side of the smallest leaf spring enough material to allow for the parts to fit (and then a little extra to allow for a final coat of paint).


No comments:
Post a Comment