The 1899 Locomobile Steam Car Replica, known as the Lykamobile is a full scale live steam automobile manufactured in 24 kits. This kit is available from a company called "Steam Traction World" located in Daventry, United Kingdom. Each kit is to be manufactured and sent once a month for 24 months. However for cost considerations I have chosen to have my kits batched and dispatched in larger crates to the United States (Topsail Beach, NC).

Specifications:
• Length 7ft 2.6in • Height 5ft 3in • Width 4ft 7.1in • Weight 904 lbs.• Water Tank Capacity 12 Gallons • Fuel Tank Capacity 7.3 Gallons

Construction:

CHASSIS Tubular steel fabrication, combination weld, bolted and silver solder.
STEERING “Ackerman” design tiller steering.
DIFFERENTIAL & DRIVE Spur gear differential similar to the original Locomobile, drive shaft and bearings.
WHEELS & TYRES Single tube pneumatic, treaded.
BREAKING SYSTEM Disc brake system.
ENGINE 21/4" diameter, 3" stroke modified “Hackworth” valve gear.
WATER FEED Twin mechanical pump.
BURNER Fuelled by diesel.
BOILER Multi Fire Tube, fully constructed and complete with necessary paperwork and inspected by notified body.
BODYWORK & SEATS Wooden with steel frame, seating capacity of 2 persons, with turned decorative spindles with leather style upholstery.
Gears: forward and reverse.
Assemble with hand-tools only
Step-by-step instructions
Technical service and help-line backup
Designed on ‘Solidworks’ CAD
Manufactured on modern CNC machines for build accuracy and high quality


Wednesday, June 10, 2020

Lyka Kit #18 Cladding and Burner Tray Part 2

As stated in Part 1 for Kit 18, the boiler stays were a bit too weak for securing the boiler to the frame. Steam Traction World has sent replacement stays and they are much better. Unfortunately in my haste to carry on with the final assembly of the cladding I failed to take a few pictures of the stays. Once I got the stays assembled the next step would be to place the top boiler hood assembly on the boiler. But I realized I had a leftover part that I don't think was mentioned in the assembly instructions. The part is a spacing ring that would go around the water feed pipe assembly keeping the boiler hood pieces separated. I'm not sure it is really needed, but instead of disassembling the hood completely to place this spacer in the right location I decided to split the spacer and slip it in as shown in the images below.


Once the boiler hood is in place, the exterior cladding is positioned around the superwool insulation.
The brass bands are next assembled. I found that I needed to use temporarily a longer bolt to tighten the bands and then replace the longer bolt with the correct bolt.
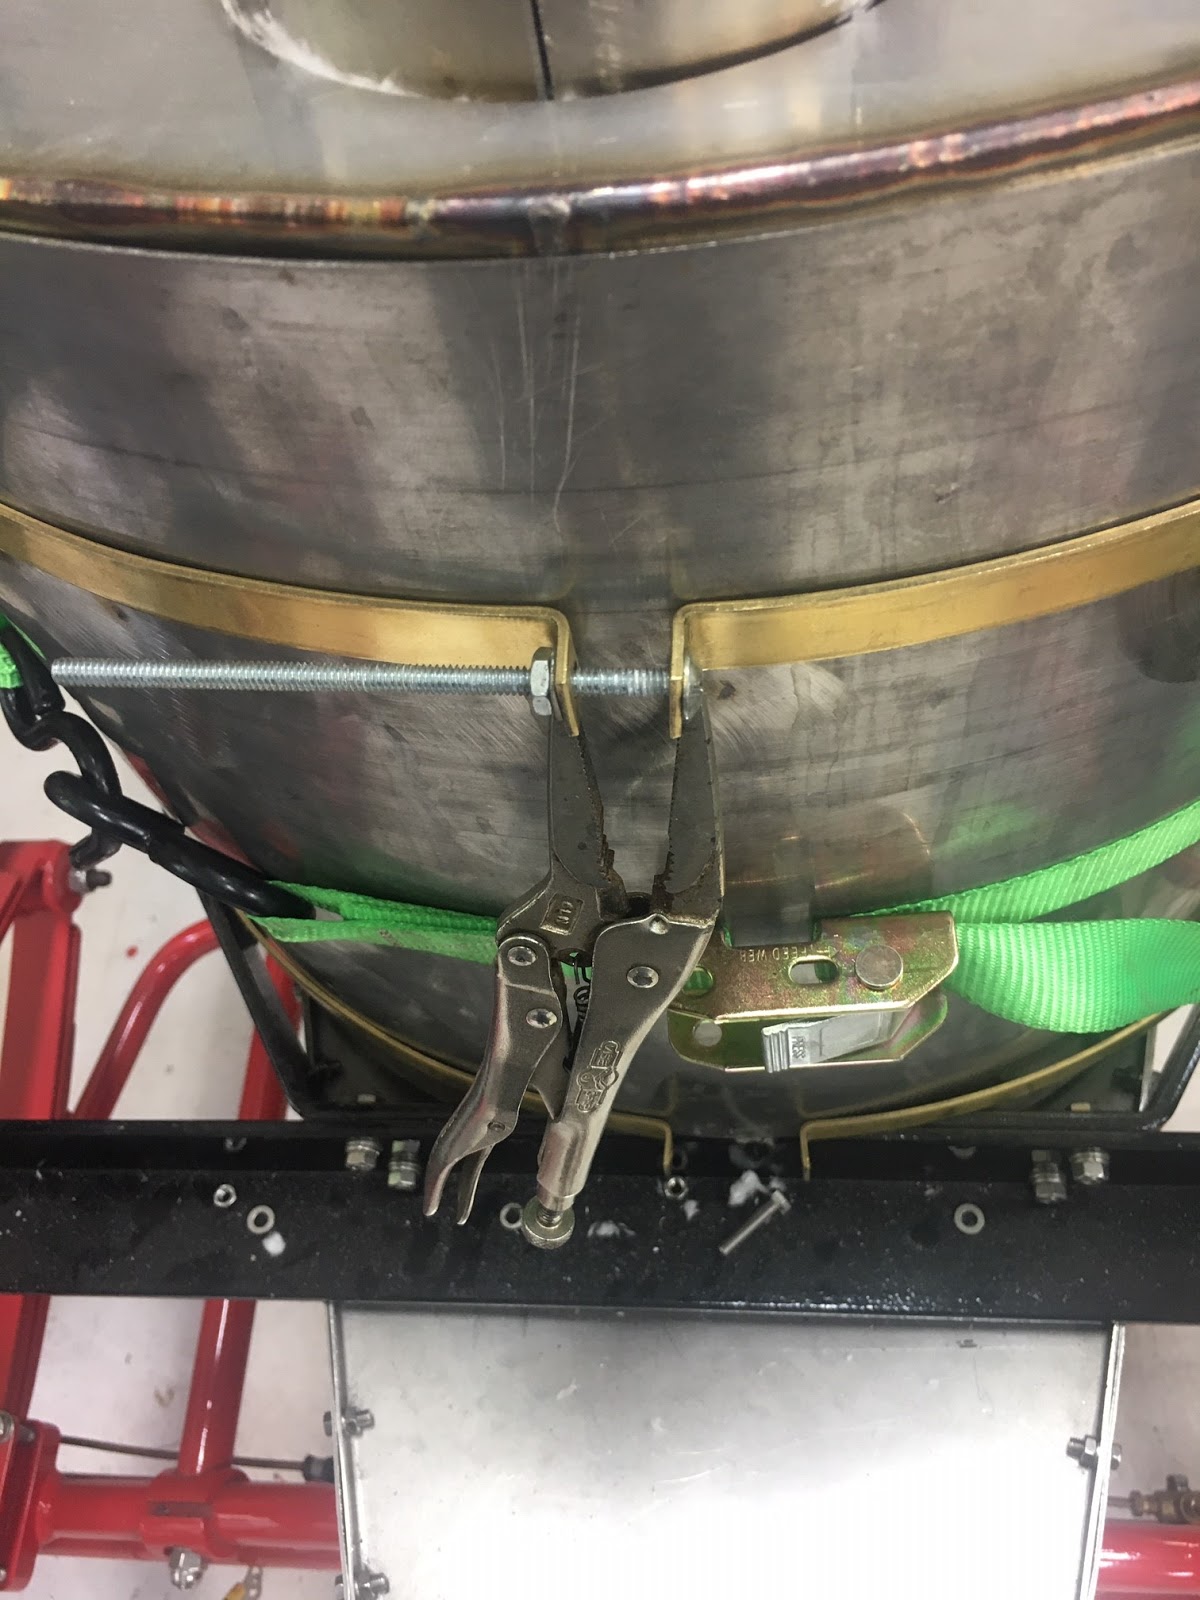
With the help of some needle nosed vise grips I was able to keep the band tight while replacing the bolt. 


In the next image you will notice the stainless steel elbow fitting installed. Don't install this fitting until later. I learned that the water check valve assembly that goes on the pipe to the left of this fitting won't thread on with this elbow installed.


Final note, I used Steam Seal on all of the pipe threads. I don't have much experience with steam or the Steam Seal Compound, but I typically know that you must really crank down on the pipe threads to get a leakless fit. I hope the Steam Seal Compound will eventually set up and seal everything. Time will tell when we steam up to 250 PSI.

No comments:

Post a Comment

Popular Posts